Painting the Bottom of Your Boat
If you are a boat owner, you are well aware that regular maintenance is crucial for keeping your boat in top condition. One important aspect of this maintenance is applying antifouling paint to the bottom of your boat. This chore prevents marine growth and enhances the speed and ease of your boat's movement through water. While many boaters prefer to have professionals handle this task at a local boatyard, if you have the time and interest, you can try it by following this 10-step quick guide. More detailed information for each step is also provided to assist you in successfully completing the job on your own. By doing so, you can achieve both personal satisfaction and cost savings. As a general estimate, for a 26-foot boat, between paint, sandpaper, paint brushes, tape, and cleaning supplies, the cost of bottom paint would range from $425 to $925 for a high-quality finish. Additionally, keep in mind that you will need to repaint the bottom of your boat every few years - so doing it yourself will save you some money in the long run.
10-Step Quick-Guide to Painting the Bottom of a Boat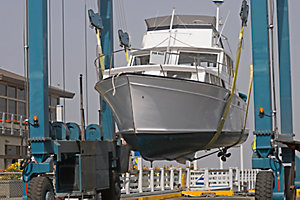
- Ensure the work area is properly prepared according to boatyard regulations.
- Immediately after hauling out, pressure wash the bottom of the boat.
- Remove any loose or flaking paint with a scraper and/or 80-grit sandpaper.
- Sand the entire bottom paint area using a vacuum sander fitted with 80-grit paper.
- Wash away all sanding dust and wipe with cotton rags and solvent wash.
- Tape off the waterline, prop shaft, anodes, knot meter, and depth transducers.
- Use a paint shaker or a drill-powered mixer to mix the paint for at least 5 minutes.
- Paint detail work with a chip brush, then paint the hull with a roller (3/8” nap is typically recommended).
- Apply 2 complete coats of bottom paint with an additional coat on all leading edges/high-wear areas.
- Allow appropriate dry time before re-splashing per the manufacturer's specifications.
Now that we've got the basic steps down let's explore the process a little more in-depth, followed by some helpful information on how to choose the right antifouling paint for your boat.
The 10-Step Quick Guide in Detail
- Know the Rules – Once your boat has been pressure washed, the yard will block (support) the boat as appropriate. Before this happens, make sure you have communicated your plans to the boatyard manager and that you fully understand the yard's rules and regulations on doing this work on their property. Most states now have strict laws governing boatyard work, and if you don't follow the regulations, you may be liable for some hefty fines, so it's imperative you understand the rules before getting started.
Pressure Washing – Per the Quick Guide above, it's extremely important that you prep your boat properly BEFORE applying any paint. The first step is to pressure wash the bottom as soon as you come out of the water (this is normally done by yard when hauled out, but ask to be sure). The yard should knock off any hard growth with a scraper and use the pressure washer to remove any soft growth and/or loose paint. Trust us that it is significantly easier to remove this growth when the hull is fresh out of the water before it all turns to concrete.
- Remove Loose Paint – After the hull has been pressure washed and has thoroughly dried, check it for loose paint and carefully chip any off with a scraper. Make sure to follow the slope of the hull and don't gouge too deeply into the surface – just chip off any paint that is flaking off easily.
- Sanding – The next step is to sand the entire bottom, which gives the surface the “tooth” that helps the new paint adhere properly. Most yards require you to use some form of dust-free sanding and may even be able to rent you the proper equipment if you inquire. Since most bottom paint is fairly toxic, it's also important to take proper measures to protect yourself, including covering your skin, shielding your eyes, and wearing gloves and a respirator or mask. All the main sanding should be done using 80-grit sanding disks on a random-orbit sander with a vacuum hose connection to collect the dust. When sanding, be careful not to apply too much pressure in one place for too long as you may remove more paint than necessary and also risk damaging your gelcoat or barrier coat (if applied). Move slowly and remove just enough of the old paint to produce a slight texture.
- Wash the Hull – When done sanding, rinse off the hull, let it dry, and then wipe down the entire hull with a solvent wash and rags to make sure you've removed any loose residue and have a clean surface on which to apply the new paint. We also recommend you check the label on the paint you will be applying to ensure you've complied with any special instructions the manufacturer may recommend.
- Taping – Mask off the waterline and any items you should not paint, including transducers, prop shaft, anodes, knot meter, etc. – anything you don't want to get paint on. If you don't cover it now, it's highly likely to end up with some paint on it – even if you're being careful. Rollers can spray a surprising amount of paint if you're not paying attention. Please note - if you've removed your anodes, don't paint over their location; they need to have direct contact with the metal they are protecting to be effective. When choosing your tape, keep in mind that this can be a multi-day process (weather-dependent) – so choose a tape that is designed to be left on for more than 24 hours and has some sort of UV stabilization. Use a fresh roll, carefully following the water line a foot or two at a time, making sure the bottom edge adheres fully to the boat so no paint will seep underneath. Using one long piece makes it much easier to remove at the end of the process.
Mix the Paint – Since antifouling paints often contain cuprous oxide (which is heavy and sinks to the bottom of the can), or some sort of non-toxic biocide, it's extremely important to ensure the paint is well-mixed. Stirring it up with a wooden paint stick is NOT sufficient to evenly disperse the biocides – so, put it on a paint shaker or use a drill-powered mixer. You should mix the paint for at least 5 minutes to make sure the biocides are properly disbursed, and nothing is stuck at the bottom of the can.
- Painting – Most manufacturers recommend painting when the outside temperature is 50°– 85°F and humidity is below 65%. Having the right conditions is a big part of proper paint application, so if the weather isn't cooperating – you should put the project on hold. It's important to have the proper tools for bottom paint application – do NOT use household painting tools as they are not usually meant to be used with the solvents used in bottom paints and could quickly burn through the containers. Purchase a proper paint tray, a solvent-resistant liner, a good metal roller frame with 3/8” nap solvent-resistant roller covers, and a couple of different sizes of chip brushes for those hard-to-reach areas. Once again – make sure your skin, clothing, and shoes are covered, that you're protecting your eyes, and that you wear a respirator to avoid breathing in the hazardous fumes. Start by painting any difficult areas with your chip brush, working from the bottom up so you don't brush against the paint. Once you have a coat on all the harder spots, wet your roller with the paint and then roll it over the tray ramp to remove the excess – otherwise, the paint will splatter everywhere the minute you start rolling. Roll the paint on a little thick (especially for ablative paint) – working from the bottom up. As the roller starts to dry, roll over the area again to smooth out any bubbles that may have formed. Do not try to stretch the paint by painting a thin coat, as this will not provide proper protection in the long run.
Coverage – Apply 2 full coats to all surfaces and then apply a third coat to any “high turbulence” areas, such as the leading edges on the bow and keel along with the first foot or two of the waterline. By the time you finish the first coat, the paint will likely be dry enough to start the second coat – but check the manufacturer's label to be sure. Remember, times will vary with the temperature, so you can't always go by past experience. Each time you add more paint to your tray, make sure the paint is still properly mixed. Using an extension handle on your roller is also a good idea, as it can make the job much easier and helps keep you farther away from any splattering paint. If your boat is on stands, ask the yard manager if they can adjust the stands after the paint has dried so that you can prep and paint those areas too. If they are unwilling to do so, paint those areas while the boat is in the travel lift.
- Launch – Once finished with all coats, remove the tape and check the manufacturer's specifications to ensure you can organize your launch while allowing the recommended dry time.
 What is bottom paint anyway?
Also known as antifouling bottom paint, boat bottom paint is specially formulated to keep marine organisms such as barnacles, plant growth, zebra mussels, and algae from growing on the bottom of your fiberglass, wood, or aluminum boat. This is done through the controlled release of biocides – most commonly cuprous oxide (copper) or the more environmentally friendly Zinc Omadine™ slime fighter, Biolux® zinc pyrithione and/or the hard shell deterrent Econea™. Antifouling bottom paint helps prevent hard and soft marine growth from attaching to the bottom of your hull, slowing you down, affecting your ability to maneuver safely, and costing you more in bottom cleaning, blister repair, and fuel bills. There are several categories of boat bottom paint:
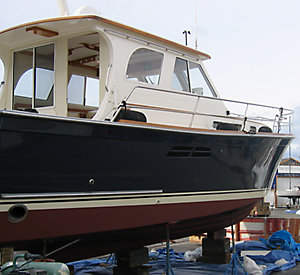
Ablative bottom paint (also referred to as self-polishing) gradually wears away, exposing fresh biocide every time you move your boat and eliminating heavy paint build-up over time. It's not recommended for fast boats (moving at over 15 knots in most cases) as the paint might wear away too quickly, boats that sit at the dock for extended periods of time (the paint won't wear away, exposing new biocide) or boats that spend a lot of time out of the water. When applying new copolymer ablative paints, it's helpful to change the color, allowing you to easily see when it's time to repaint as the original color begins showing through. This can also help you identify high-wear areas that may need an extra coat. Sanding bottom paint also creates toxic dust, so use a dustless sander. And protect your exposed eyes, skin, and lungs with high-quality protective equipment before you begin sanding.
Hard bottom paint (also referred to as a modified epoxy coating) slowly leaches biocides over the life of the paint. When the antifouling agents are gone, the paint is still present on your boat – it does not slough off like ablative bottom paint. This hard coating is a better choice for fast-moving boats or for racers who desire a super smooth, fast coat of paint. It is also good for boats that sit at the dock for extended time periods. The downside is that since it doesn't wear away, each new coat means added weight, and eventually, there will be enough build-up that the entire bottom will need to be stripped down to the epoxy barrier coat. Bottom paint is recommended for any type of boat, including pontoon boats and fiberglass boats, as it helps prevent oxidation and discoloration of the hull. Regularly applying bottom paint is crucial to protect your boat from the corrosive effects of salt water.
Hybrid bottom paints usually incorporate the best of both styles into one paint by being lightly ablative and resistant to buildup but still providing a smooth, hard surface – a great option for high-speed boats.
Selecting Your Bottom Paint
If you're unsure of the manufacturer or what type of paint you currently have, you can at least identify whether it's ablative or hard by checking to see if it rubs off easily. If it does, it's likely ablative – if it doesn't, it's probably a hard or semi-hard hybrid paint. We highly recommend consulting with the boatyard manager if you have any doubts about your options. They know and understand the unique challenges of the area you operate your boat in and can likely provide excellent guidance on your best options, including how much paint you'll need to do the job.
We should also note that in some areas, copper-based paints are in the process of being phased out – so make sure to check your local regulations before choosing your paint. Fisheries Supply is proud to offer a variety of copper-free alternatives from several of our paint manufacturers.
A successful paint job is only as good as the prep you put into it – so make sure to do the work upfront, and you should get up to two seasons of protection (depending on the paint) for your hard work, along with the satisfaction of doing it yourself. Following the recommended number of coats when applying antifouling boat paint to the bottom of your boat is important. If the existing bottom paint is in good condition, you may want to just re-coat the bottom with a maintenance coat. If the existing gelcoat has cracks or blisters, you may want to apply a barrier coat before applying the bottom paint.
Follow all label directions carefully. When painting the bottom of your boat, it's important to pay attention to details such as masking around underwater metals to protect them from contact with any copper-based antifouling paint, including the bootstripe. Choosing the right type of masking tape may not seem too important in the grand scheme of things, but if you select the wrong one, you’ll spend a lot of time trying to get it off your boat. We recommend using a “long-mask” tape, such as 3M’s 2090 Scotch Blue Painter’s Tape, which is not only UV-stable but can also be left on for up to 14 days.
What precautions should I take when painting a boat bottom to avoid environmental damage?
When painting a boat bottom, it's highly important take precautions to avoid environmental damage - both for the good of the environment and to avoid getting fined by the yard. Make sure you get instructions from your chosen yard on their local regulations and follow them religiously. We also recommend using a paint that is specifically designed for marine use and is eco-friendly, such as some of our copper-free options. Follow proper disposal guidelines for paint waste and clean up any spills or drips immediately to prevent contamination of water sources.
What materials do I need to paint a boat bottom?
To paint a boat bottom, you will need the following materials: boat bottom paint, paint thinner or solvent, a paint roller or brush, a paint tray, a scraper or sandpaper to remove old paint, masking tape to protect surrounding areas, and a boat bottom primer if necessary.
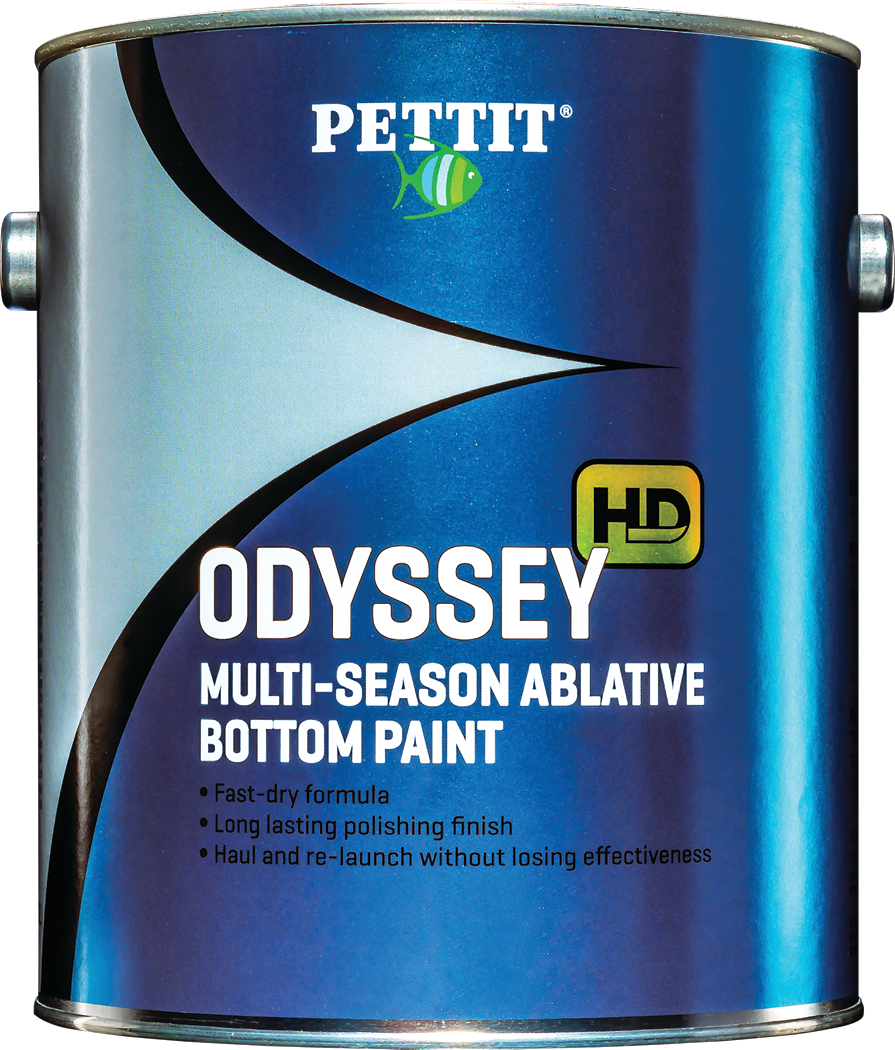
We hope you've enjoyed this guide to bottom painting. Fisheries Supply sells a wide variety of antifouling paint, from brands like SeaHawk and Interlux, and Pettit. We also offer accessories, like drop cloths, paint rollers, and trays. If you have any further questions about selecting the right paint for your boat or how to properly apply a fresh coat, please don't hesitate to contact our paint experts at (800) 426-6930.