Guide to Restoring Gelcoat
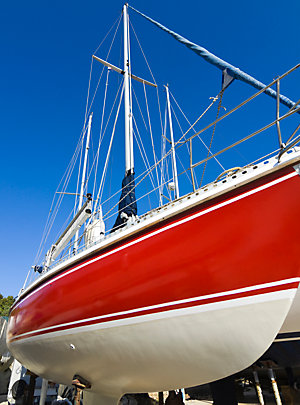 Each spring our maintenance experts field a lot of questions from customers on how they can “bring back the shine” to their boat. Choosing the right products for your job is critical to making the job (relatively) easy and effective. Below we describe the differences between compounds, polishes and glazes, as well as discuss how to get that ultimate shine back while making sure your boat's gelcoat is sealed and protected for the coming season.
What is the difference between a compound, polish or glaze?
Compounds and polishes are very fine abrasives suspended in a liquid, and are used to bring gloss or shine to a finished surface. You can think of them as a series of extremely fine “liquid sandpapers”. They are primarily used as the final steps in refurbishing aged or oxidized gelcoat or as the final steps in blending repairs. All of these products effectively remove a small amount of your gelcoat, so it's important to use the least aggressive option that will still get the result you want.
- Compounds are used first to remove oxidation and fine sanding scratches. The heavier the oxidation, the coarser the compound needs to be to give you more “cut”.
- Polishes are used after the compound to remove the finer scratches or swirl marks left after buffing with the compound. If you only have light oxidation, you may be able to skip a compound and begin with a polish.
- Glazes are mostly used on darker colors that easily show fine scratches. They remove even the finest swirl marks and are used when you want that ultimate mirror-like finish.
There are also several “one-step” products that combine a compound or a polish with a wax to help you reduce the amount of time spent on restoring your gelcoat. These products are a good option if you have very light oxidation and Fisheries Supply stocks several good ones.
The quality of the results you expect along with the amount of time you are willing to spend will determine how many of these steps you perform. With a reasonably well-maintained, lightly oxidized hull, you may decide that polishing is enough. For medium oxidation, you will need to use both a compound and a polish to bring back your shine. For heavy oxidation, you will likely need to start with an “extra-cut” compound, working your way to a lighter-cut compound, all the way through to a polish.
One more thing to consider...
Compounds and polishes consist of a sophisticated combination of abrasives, surface softeners, solvents, and additives – often intended for use on a particular substrate. Particularly hard surfaces like Awlgrip's 2-part polyurethane paint may require one type of compound or polish, while a softer surface like gelcoat will use another – so as you look through our offerings, make sure that you select compounds and polishes that are appropriate for your specific application.
Now – let's get on to the actual process of getting your shine back!
Step 1 – Compounding
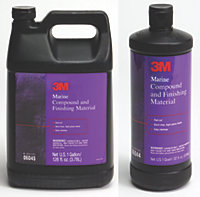
- Your first step before compounding OR polishing is to give the boat a good wash. It's important to remove any dirt beforehand – otherwise all that grime will make new scratches as you start to buff.
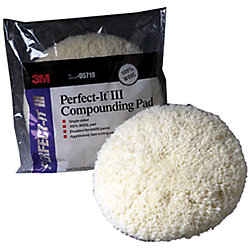
- Once the boat is clean, choose your starting point and apply the compound liberally to a compounding pad. With the buffer off, use the pad to distribute and rub the product into a 2' by 2‘ area, working it into any fine scratch marks left by sanding, or the porous surface of the oxidized gelcoat. Doing this first also makes it less likely to splatter (or “sling”) when you turn the buffer on.
- Turn the buffer on (ideally between 1500 and 2000 rpm) and work the compound into the surface. Make sure to apply light pressure and do not keep the buffer in one spot for too long – keep the machine moving to avoid overheating. Try to work systematically in small areas and continue buffing until the shine comes up and the compound is virtually all gone. As you buff the compound's physical structure changes to become less aggressive and further refines the surface scratches as buffing progresses – so don't stop too soon.
- When done, use a dry microfiber cloth (such as 3M Scotch-Brite High Performance Cloth) or a VERY soft rag to remove any remaining residue.
- Remember that you are not going to get a high-gloss shine at this point – you are just removing the oxidization and prepping the surface for the next step.
Step 2 – Polishing
- Apply the polish liberally to a polishing pad and with the buffer off, use the pad to distribute the polish over the area to be worked. Again, a typical “load” will cover about a 2' by 2' area. No need to rub it in, but it doesn't hurt to do so.
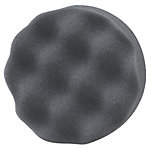
- Turn the polisher on, begin polishing, and stop while there is still a light residue of polish visible. Remember to work small areas with gentle pressure – keeping the buffer moving at all times, especially if you use a foam pad – which can get very hot.
- Do not let the pad dry out. If the pad starts jittering or grabbing, it's time to stop.
- Always do a final wipe using a dry microfiber cloth or a VERY soft rag to remove the remaining residue as any remaining polish can produce stains on your newly polished surface.
Step 3 - Waxing
There are two ways to do this – either by hand, or with a buffer. Most everyone you talk to has an opinion on which is better (kind of like talking about anchors), but both work great if done well. If you decide to apply by hand (easier with some of the thicker waxes) do so with clean rags, soft towels or a microfiber cloth. Use a cotton rag to apply the wax, let it dry to a haze, and then use a soft towel or cloth to wipe it off. Use a circular motion for both application and removal and try to use the palm of your hand – not your fingers –applying the wax with smooth, even pressure. It's important to not let your rags get too clogged up with wax – so switch to a fresh one when it feels like your current cloth is getting full of wax. As always, finish by wiping with a clean microfiber cloth.
It can be advantageous to combine the two methods – apply the wax with a buffer, then remove it by hand. This can save a lot of time and effort in the long run, while still giving you good control over the layer of wax you apply. Different types of wax may call out a specific application process, so make sure you read the label carefully and proceed as directed.
When you've made it through all of these steps, not only will your boat be protected from the harsh sun and saltwater environment, it will also have that beautiful glossy finish that always makes us turn back and take one more admiring glance.
We hope you've found this Navigator informational – but if you have additional questions, please don't hesitate to contact our product experts at (800) 426-6930.
